Cell Culture Plates :
Application & Solutions

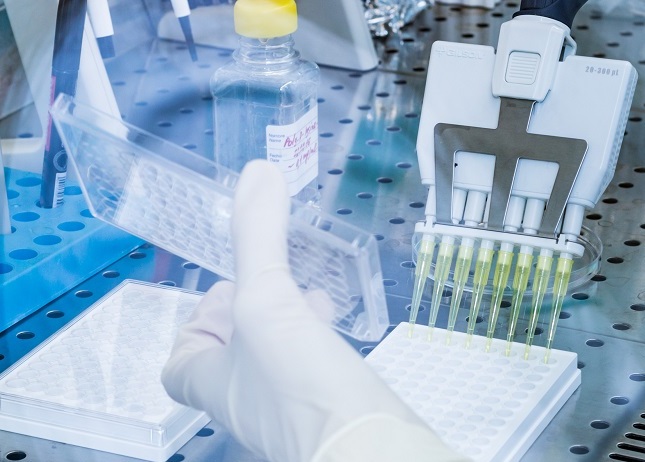
Cell culture plates are used for a wide variety of microbiological operations. Typical applications are cell cultivation and screening of technical bioreactions. Due to the large number of wells and the use of identical types, cell culture plates are suitable for cultivation and test with a large number of samples. These standardized plates come with up to more than 10,000 wells in one single plate, setting high standards to the uniformity and the overall quality of each individual well.
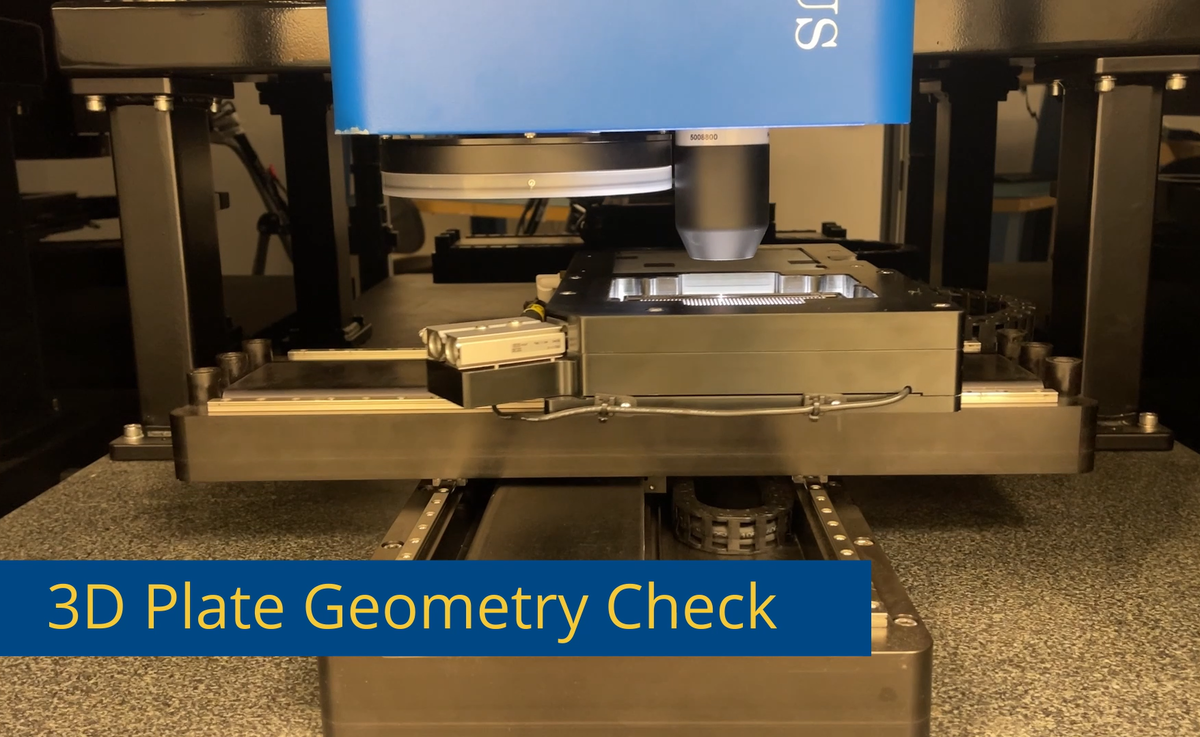
In order to meet the very specific requirements of an automated quality assurance tool for cell culture plates, specification and design of a custom metrology system became necessary. The custom design implemented for this application, resulted in a combined 2D and 3D metrology tool, integrating 3D point and line sensors together with a high resultion 30 megapixel matrix camera as well as direct and transmitted illumination. In addition, the multity of subsequent metrology and inspection tasks made necessary the implementation of customized workflows and result data handling. Acquisition and processing of several gigabytes of data in parallel was realized free of delays on the Solarius SolarCore software platform.

To guarantee homogeneus conditions during cell cultivation or during the observance of technical bioreactions, shape and position of these wells along with material properties and defects are the determining factors for providing homogeneus conditions to the samples. In addition, the cell culture plates must be free from debris and contamination to ensure controlable reactions.
To operate the tool, a cell culture plate is loaded and a pre-defined measurement sequence is started, referring to the manufacturing Lot ID. The individual plate inspection routines, containing between 24 and several thousand single well elements, are defined within plate specific measurement setups which perform all subsequent 2D and 3D operations automatically. The inspection result becomes displayed progressively in a consolidated way and allows an easy pass or fail decision for the tool operator. Result details about the well shape, condition and other parametric process control information becomes uploaded to the fab quality database for each plate, after the inspecion cycle is completed.
To ensure process stability and tool reliability, for all dimensional parameters, a complete measurement capability analysis was conducted, over the complete range of products. Gage R&R as well included the reliable determination of dimensional parameters of debris and particles in the single digit micrometer range. The individual measurement setups as well as the tool configuration are controlled and protected by the integrated user and role manangement system. Changes of pass fail criteria, sensor hardware settings or image processing parameters are traced within the FDA 21 CFR Part 11 compliant audit trail, without exception.