Interconnets :
Application & Solutions
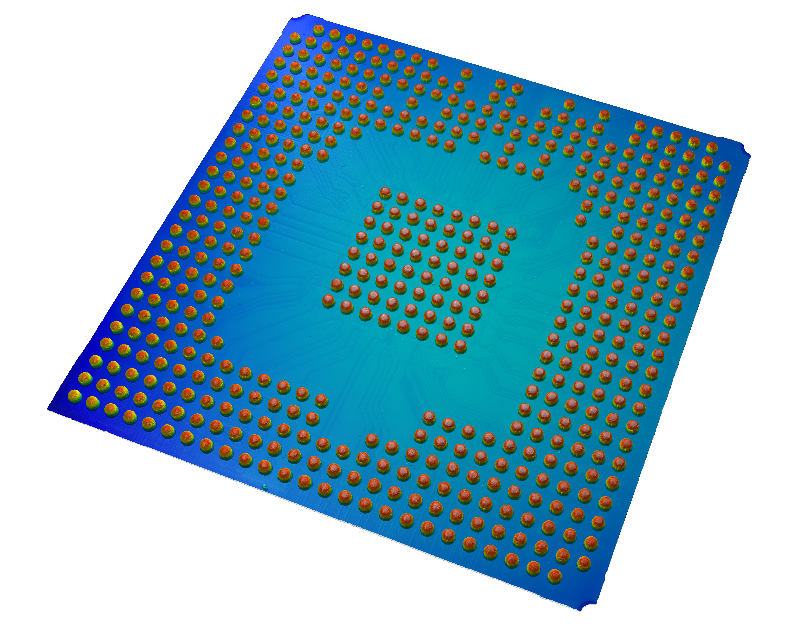
Low space requirements, good heat dissipation and short conductive paths are only some of the reasons why the semiconductor industry relies on solder balls, so-called „bumps“, of all kinds for contacting different chip levels and entire components with one circuit board. Ball grid arrays use a vertical path for electrical contact, leading to high demands on the coplanarity of the applied solder beads and the entire component.
Bump height, warpage and coplanarity monitoring is therefore indispensable to ensure the reliability of the subsequent soldering step. This applies to printed bumps as well as electrochemically applied copper pillars, which contain a copper cylinder in addition to the solder hemisphere to bridge a height difference.
Constant miniaturization, the most important pacemaker in the further development of semiconductor components, also affects the connections, which is why bumps and copper pillars cover every height range - from a height of a few micrometers to solder balls with a diameter of a millimeter. Interconnects with a diameter of 20 micrometers or less place increasingly higher demands on the measurement technology used. Solarius’s chromatic, confocal and triangulating sensors cover all size ranges of the contacts and enable reliable 100% high volume process control.
Bump Geometry
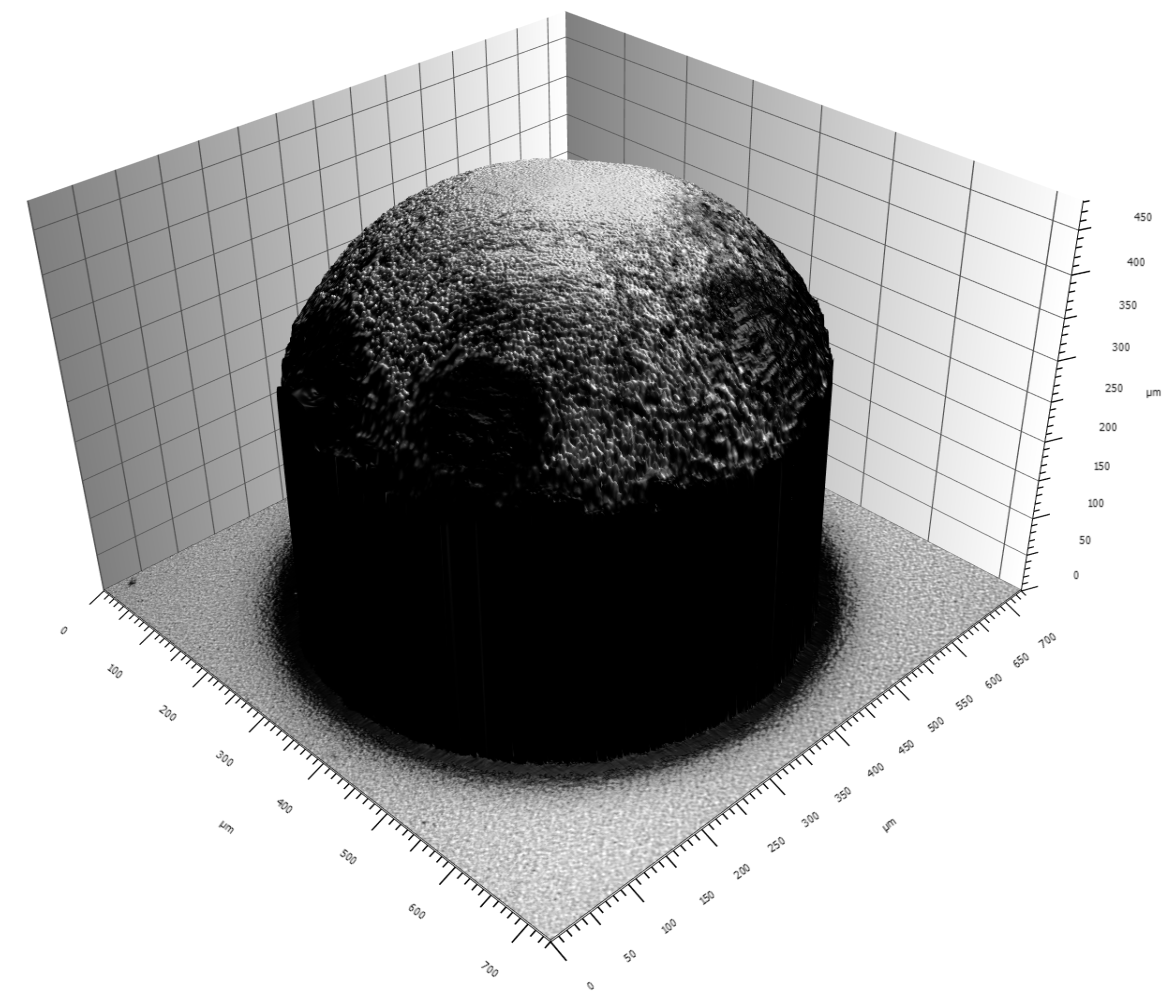
The height, diameter and thus the volume of the bump determine the amount of solder that is available for establishing the connection between the integrated circuit and the printed circuit board. To check the quantity of solder, it is therefore necessary to measure the height of bloom in relation to the environment and the diameter.
In addition to errors in height and diameter, the complete absence of the bump can also occur, as can the fusion of two solder balls into so-called bridges, or incorrect positioning. For a safe function of the products, such defects must be found and the faulty circuits must be sorted out automatically. Solarius technology also allows the measurement of diffcult-to-capture shapes over a wide size and dynamic range, making it ideally suited for measuring bumps.
Coplanarity and Flatness
Not only the height of individual bumps is important, but also their heights in combination. A component equipped with bumps always lies on three points, which define the so-called „seating plane“. The height deviation of all other solder points from the seating plane is understood as „seating plane coplanarity“. If this value is too high, it can no longer be guaranteed that a suffcient electrical contact is established after reflow soldering, which is why coplanarity monitoring is an essential component in the process chain. Besides the seating plane, other reference planes are also useful, such as the global plane, which is determined as a least-square plane by all bumps. Those values can all be obtained within one “shot” via Solarius technology.
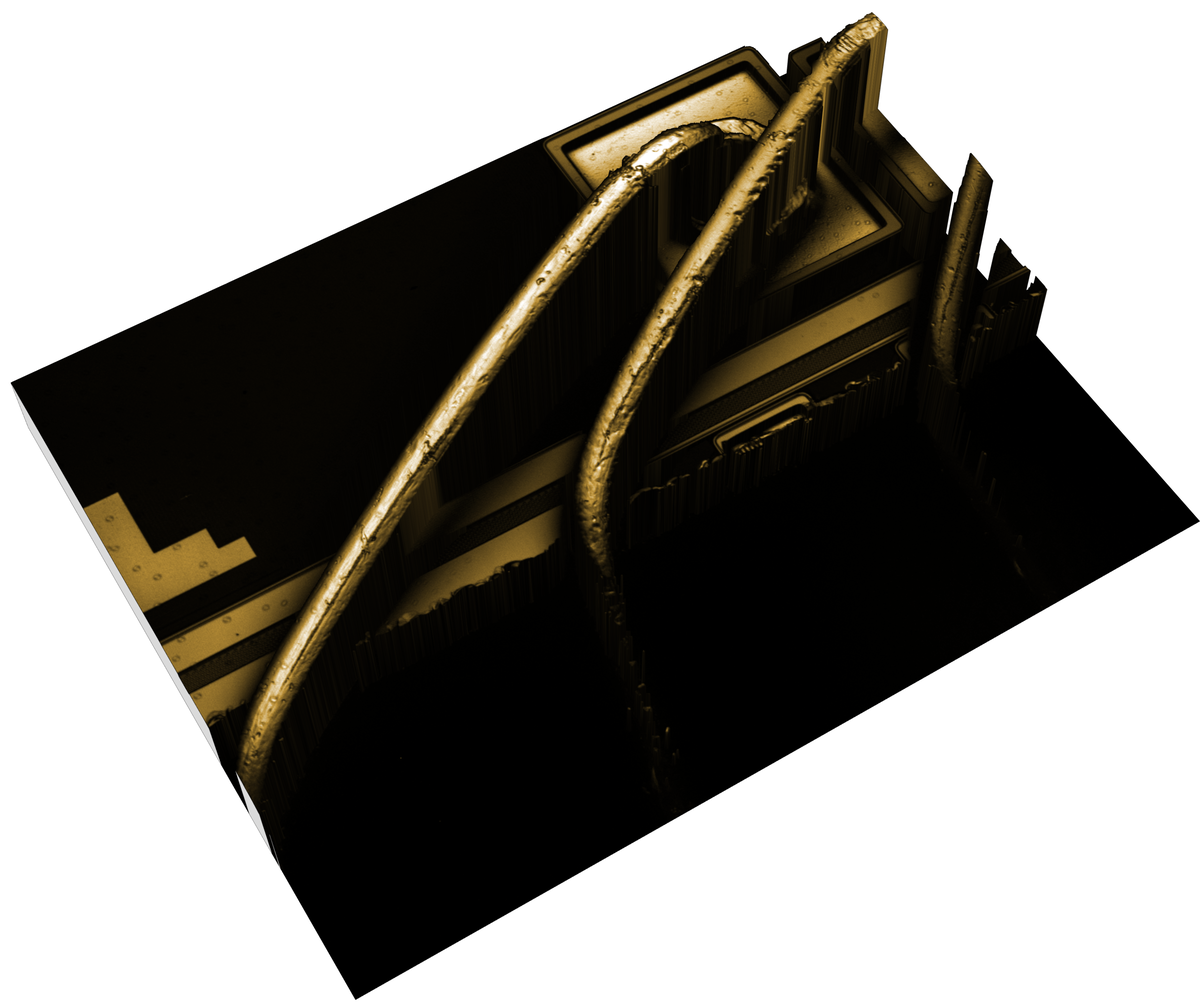
The coplanarity values are the result of the individual bump heights combined with the flatness of the substrate. This flatness is determined at the same time as the measurement of the bump heights and provides information on the previous production processes.
Wire Bond Interconnects
When the production of an integrated circuit in the frontend is completed with the sawing of the wafer, its packaging begins in the backend. This means the attachment of the chip to a carrier or on a heat sink, the electrical contacting and embedding in an insulating resin as well as possibly the installation in a housing. Bonding the sawn dies to a carrier plate with subsequent embedding in an epoxy resin is a cost-effective way of converting a processed silicon dies into a robust devic
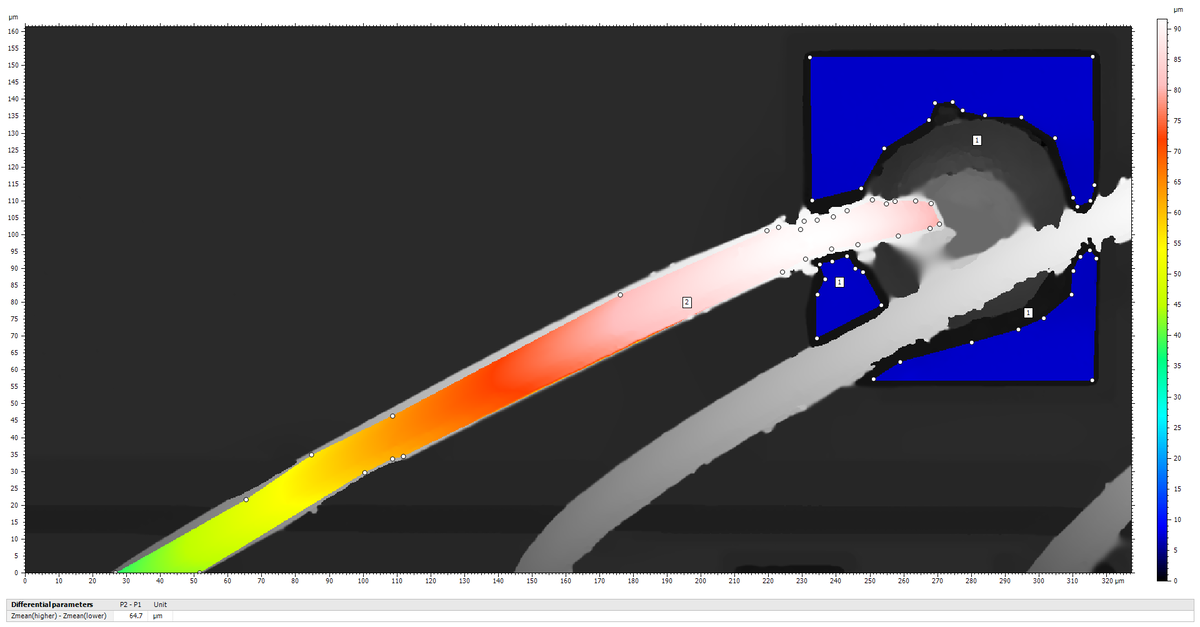
Electrical contacting is often realized using wire bonds, which allow manufacturers the greatest possible flexibility: depending on requirements, one can choose between different expensive wire materials. The wire diameter and shape can be individually adapted for each component with a high degree of variability to provide most robust packages for rough and security relevant environments.
High reflectivity, small dimensions and steep slopes make detection and measurement of bonding wires diffcult. High quantities and short cycle times intensify these difficulties. However, Solarius‘ broad portfolio has an answer to every of these challenges, allowing to capture even the most complex geometries accurately, reproducibly and automatically.
Chip Position and Loop Height
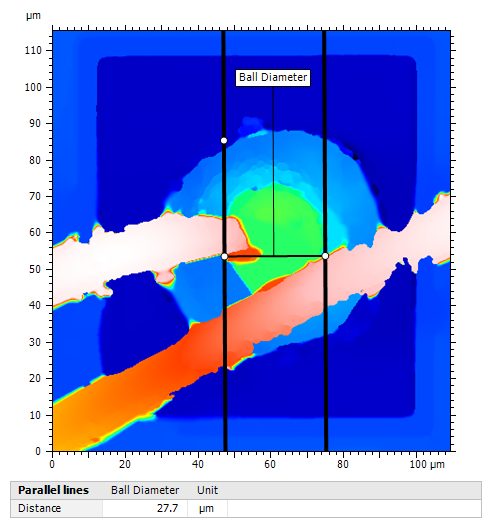
To ensure a reliable bonding process, the die must be connected to the base plate in the correct position, including height, angle, rotation and warpage. With countless process steps in the minimum of time, however, misalignments occur frequently. In addition, the adherence to the bonding wire height provides a statement about the reliability of the bonding process. If the bonding wire height is not correct, the cause lies in torn wires or an incorrect travel path of the capillary. Thin, round and specular refl ective wires are diffcult test targets for most optical inspection systems. With Solarius measurement technology you can reliably detect these objects.
Contact Position, Ball Height and Diameter
During the extremely fast bonding process, mispositioning may occur, making the whole device unfunctional. Automatic detection of balls, stitches and wedges allows you to dispense with manual, labor-intensive control without the risk of customer complaints. The wire metal used is transferred into the melt via a combination of heat, pressure and possibly ultrasound and contacted with the pad of the chip. A characteristic „ball“ is formed, whose shape and size allow conclusions to be drawn about the quality of the contact with the pad.
Epoxy Resin
Beyond establishing the connection, the epoxy resin is purposed to fill existing cavities and to seal the device. The exact adherence to the quantity of epoxy resin is a prerequisite for the perfect functioning of the components: excess epoxy can lead to non-compliance with the component geometry, too little is the cause for an improper connection. With Solarius technology, this process can be monitored in the line and a reliable inspection of the components can be carried out.